Docker Install with CLion
CLion is a C/C++ IDE that uses cmake files for configuration. These directions outline the steps to running the framework with CLion.
- Download and install Docker or docker desktop.
- Pull the latest ablate dependency docker image
docker pull ghcr.io/ubchrest/ablate/ablate-dependencies-gcc:latest - Download and Install CLion. For Windows users it is recommended that CLion be installed under WSL2 linux.
- Open CLion and select Get From VCS from the welcome window and either
- (recommended) Select GitHub and Login/Authorize access. Then follow on-screen instructions to clone your fork of ABLATE.
- Select Git from the Version Control dropdown and enter your ABLATE fork url.
- Set the toolchain in CLion using the instructions. Select the
ghcr.io/ubchrest/ablate/ablate-dependencies-gcc:latestimage in the UI. - Enable the
docker-ablate-debuganddocker-ablate-optbuild profiles.- If not opened by default, open the Settings / Preferences > Build, Execution, Deployment > CMake preference window from the menu bar.
- Select the
docker-ablate-debugand click the “Enable profile”. Repeat for thedocker-ablate-optand apply/close the window.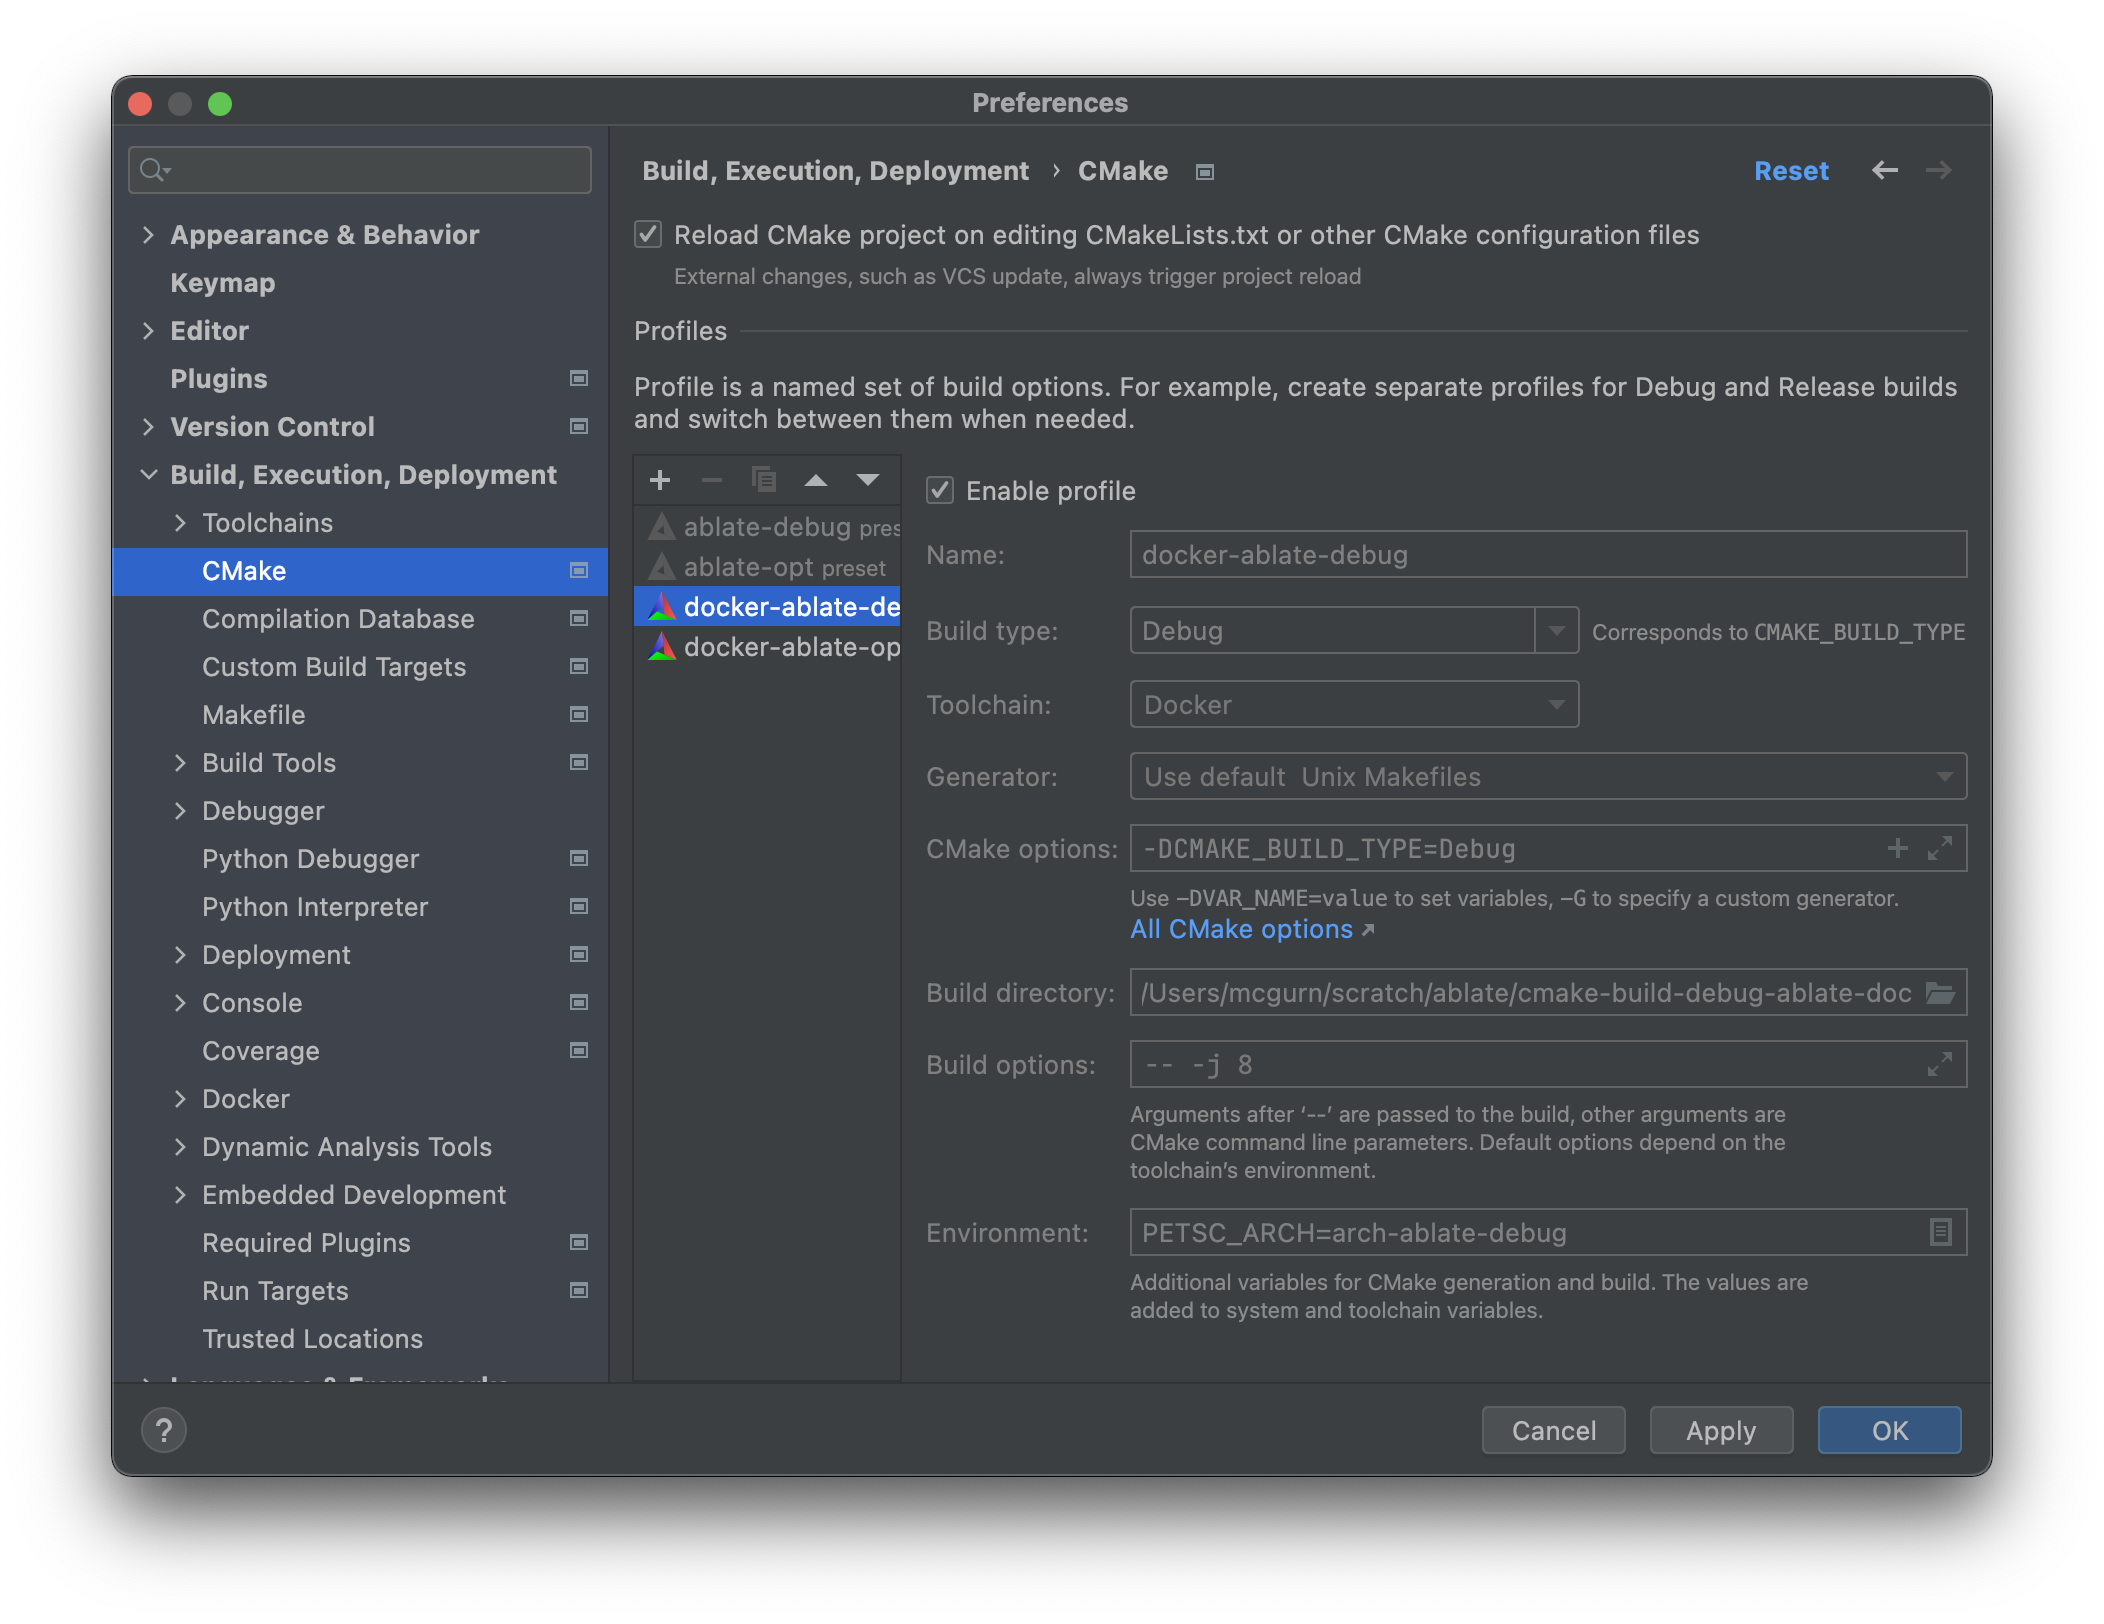
- Select the
docker-ablate-debugordocker-ablate-optbuild profile under the build toolbar. In short, the debug build makes it easier to debug but is slower. The release/optimized build is faster to execute.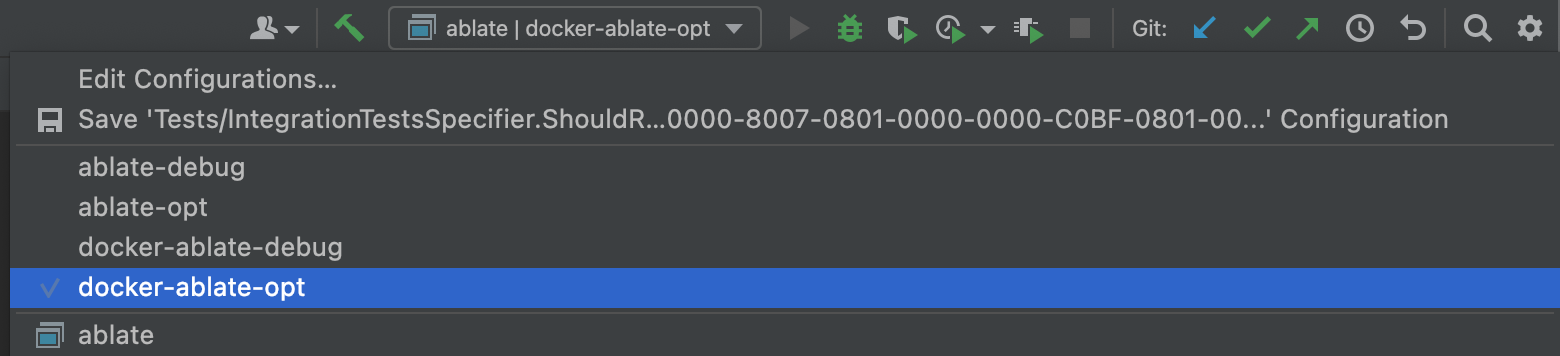
- Disable any other profile
- Build and run all tests using the All CTest configuration.

- If you are new to CLion it is recommended that you read through the CLion Quick Start Guide.